How to test if your VPN is working [Speed & Leak Check]
4 min. read
Updated on
Read our disclosure page to find out how can you help Windows Report sustain the editorial team Read more
Key notes
- Having a VPN on your PC is great for your privacy and security, but do you know how to test if your VPN is working?
- Masking your IP address doesn't always mean that your VPN provides you with the optimal level of security and privacy as it should.
- Check out our Cybersecurity Section and learn how to enhance your digital protection.
- Visit our How-To Hub for more easy-to-follow troubleshooting guides and tutorials.
How to check if your VPN is working?
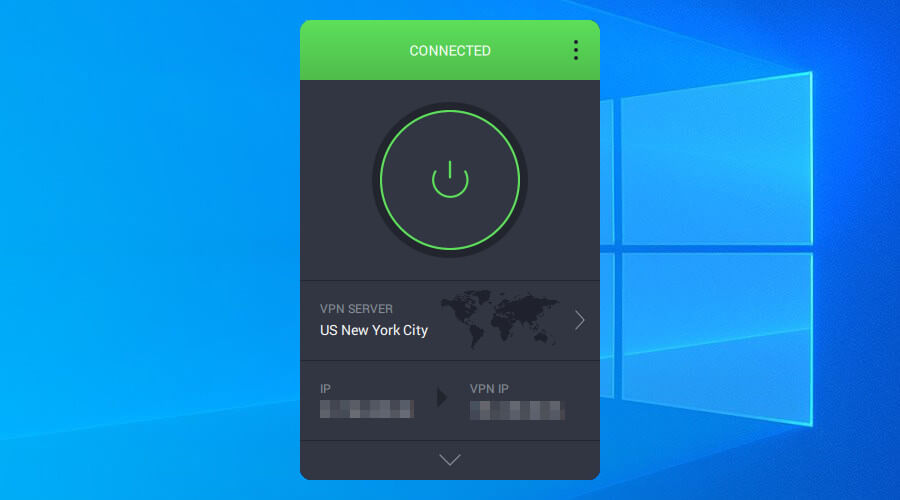
Check if you’re connected
- Locate the VPN icon in your system tray
- Double-click it to display the VPN client’s main window
- Check the dashboard to see if you’re connected
This step might sound silly, but sometimes your VPN connection might suddenly drop. If you’re unfortunate enough to use a VPN without a killswitch, your Windows PC will almost immediately default to your previous, insecure connection.
As a result, you won’t be connected to the VPN server of your choice (even though you thought you were), and your connection won’t be secured and anonymized.
Perform a data leak test
- Launch your VPN client (we used Private Internet Access)
- Connect to a server of your choice
- Launch your favorite web browser
- Go to either one of these services:
- Run a leak test
- Check if any of the following data leaked through your VPN connection:
- IP address
- DNS
- WebRTC
- Location
- Flash IP
- IPv6 geolocation
- ISP
Just to make sure, you can run the leak tests on all of the servers we’ve mentioned above. If none of these tests pick any sensitive data from your VPN connection, then your VPN is leak-proof.
However, note that some VPNs might leak data from some of their servers, while others are kept airtight. We’re not telling you to run leak tests every time you connect to a VPN server but is that such a crazy idea? Better safe than sorry, after all.
Bonus: Note that ipleak also has a torrent address detection feature. You add a magnet link to your torrent client of choice and wait for the results. If you see your real IP address in the torrent address testing area, your VPN is not secure.
Run a speed test
- Disconnect from your VPN (if connected)
- Launch a web browser
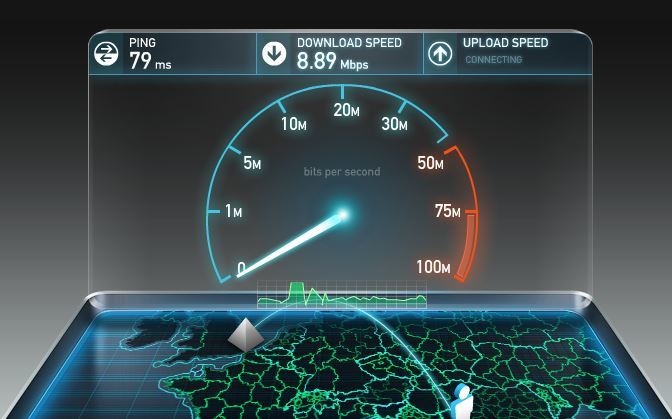
- Run an online speed test (we use Netflix’s fast.com and Ookla’s Speedtest)
- Wait for the results
- Launch your VPN client
- Connect to your desired server
- Run the same speed test
- Compare the results to see how your VPN affects your connection speed
- Optionally: run the tests on multiple servers to see how location affects your speed
Naturally, speed is an important part of your VPN. Having a secure, but slow VPN can turn simple, mundane activities, such as checking your email into sessions of endlessly waiting for the page to load.
We recommend sticking to only one speed test tool, and switching only if it doesn’t seem to work with your VPN (it’s not unheard of). On the other hand, running tests on multiple servers can help you understand if and how location affects speed.
It’s worth mentioning that certain VPNs enforce speed/bandwidth limits only on some of their servers/locations.
Final thoughts on testing your VPN
All things considered, it’s of utmost importance to understand how your VPN works and test it for leaks at least every once in a while.
Remember, even if your VPN successfully masks your IP, that doesn’t mean it also shields other sensitive data from prying eyes.
Last, but not least, running speed tests on your VPN can help you learn if the VPN limits bandwidth/speed, and also how location can affect your VPN connection speed.
[wl_navigator]


